Setup and Use the Killerspin Serving Trainer
Your ping pong serve is quite possibly the most important part of the table tennis game. A poor serve gives your opponent a great chance to score an easy point on return, whereas a strong serve can set you up for a winner every time.
The key to a strong table tennis serve?
Winning on the serve is simple as keeping your bounce height low. When you serve the ball as low as possible it requires your opponent to lift the ball up on return, preventing an aggressive shot. This is where the Killerspin Serving Trainer comes into play. This simple practice aid is designed to help you perfect your low serve so you can dominate the competition.

Setup of the Killerspin Serving Trainer is Easy
The Serving Trainer will fit almost any table tennis net post on the market, including all of our Revolution Series tables and every MyT Series indoor and outdoor table. There's just three easy steps to get going; prepare the polished steel extenders, slide them over each net post, Velcro on the ribbon, and you're ready to start practicing.
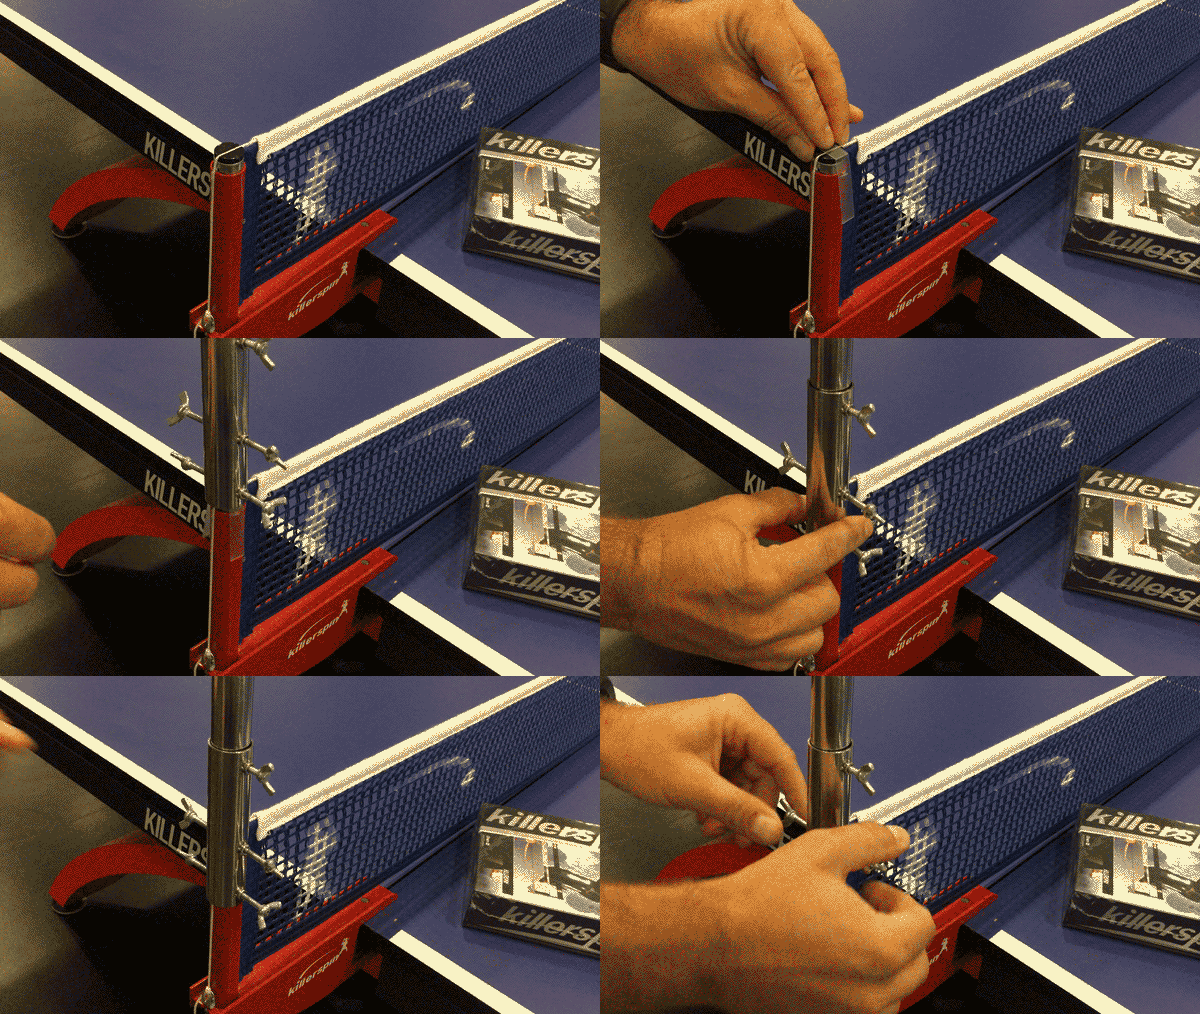
Step 1: Prepare the post extenders
The Serving Trainer includes two beautifully polished stainless steel net post extenders. Chances are the extenders come with the wing nuts a bit too tight to fit on your net posts. If that's the case, just back them out until they are flush with the cylinder's walls. Inside the extenders you'll see a small U-shaped piece of plastic. Don't discard this, you'll need it for Step 2. Repeat for the other extender.

Step 2: Slide the extender on the net and secure
Before you install the extenders, grab the protective plastic shields. These shields are designed to protect the finish of your net post from marring by the wing nuts, so be sure to place them on your net posts before you slide on the extenders. Once you're ready, slip the extender over your net posts, while lining up the slot in the extender with the table's net. Next, tighten all four wing nuts a bit to prevent any movement of the extender. If necessary, use the top wing nut to adjust the height of the extender so that the black ribbon fits correctly. Repeat for the other side.

Step 3: Install the trainer's ribbon
You're almost done! Once you've installed both extenders, all you have left to do is put the ribbon on. Start on one side and slip the ribbon onto the extender, adjusting the height as necessary. Then walk to the other side of the table while holding the ribbon taught, un-Velcro the ribbon from itself and tightly wrap it around the extender's post. You're done! Wasn't that easy?

Get to work!
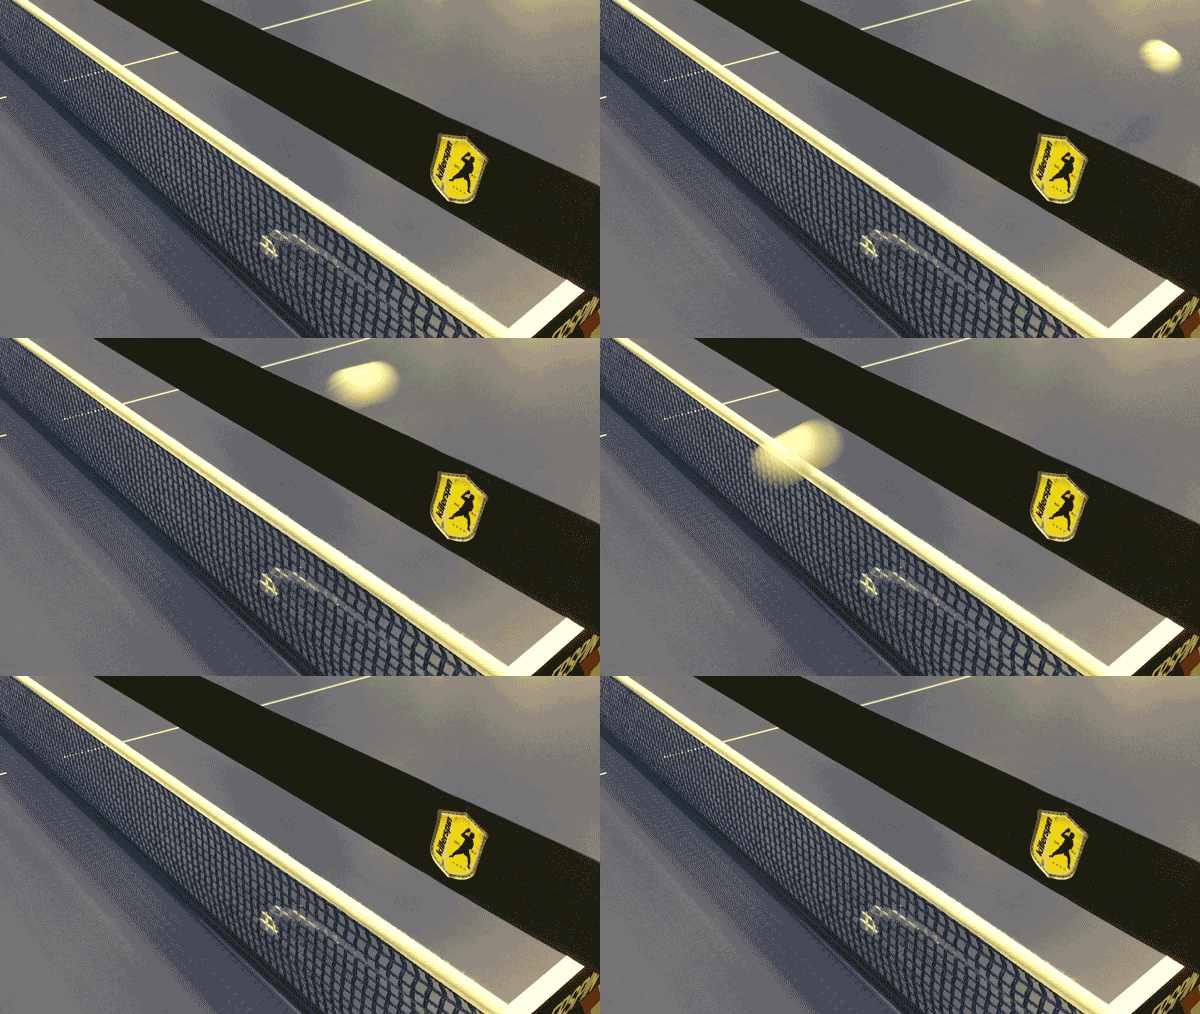
Now that you have the trainer installed on your table tennis table, it's time to work on your serve. Don't change anything. Continue to use the same toss and form that you normally use, only now focus on keeping the ball bounce low. The goal is to have the ball move between the net and the serving trainer's ribbon. Because the ribbon height is adjustable, you can start by giving yourself extra space for the ball to pass under the ribbon. As you improve, keep lowering the ribbon until there's barely enough room for the ball. It's not easy, but once you perfect your serve's height, you're one step closer to winning your next match.

Here's a video of the Serving Trainer in action.
